Are you still wasting hours composing the same email over and over, just to change the recipient’s name each time? Or maybe you’re relying on the tired old BCC trick that screams “mass email” to your users? I know that feeling of repetitive, manual work. You don’t have to do that anymore! Stop the tedious copy-paste cycle and learn the secret to Mail Merge with Thunderbird. You can now generate hundreds of unique, personalized emails in seconds, completely automating your bulk sending process. Best of all, it is FREE!
Important Warning: Use Mail Merge Responsibly!
While the Mail Merge method in Thunderbird is a powerful, free tool for personalization, it is crucial to be aware of its limitations and risks, especially concerning bulk sending:
- Risk of Being Flagged as Spam: Since Thunderbird sends a large number of emails in rapid succession via your standard email service provider (like Gmail, Outlook, or your web host’s server), your provider might view this sudden, high volume as suspicious activity or “spamming”. This can lead to your emails landing in the recipient’s spam folder or, worse, your account being temporarily or permanently blocked by your service provider.
- Missing Tracking and Analytics: Thunderbird does not provide built-in features for tracking email opens, clicks, or bounces, which are essential metrics for any successful email campaign.
If you are using this method for a large-scale marketing campaign (e.g., newsletters, promotions to thousands of subscribers) or require detailed performance analytics, we strongly recommend using a dedicated Email Service Provider (ESP) such as Brevo, Mailchimp, or SendGrid.
These specialized services are designed to handle high volumes, manage deliverability, provide crucial analytics, and adhere to email sending regulations (like GDPR and CAN-SPAM Act).
Setup Thunderbird and install extension
First you need to install Thunderbird and add an account. You can do by follow this tutorial by How to 1 minute.
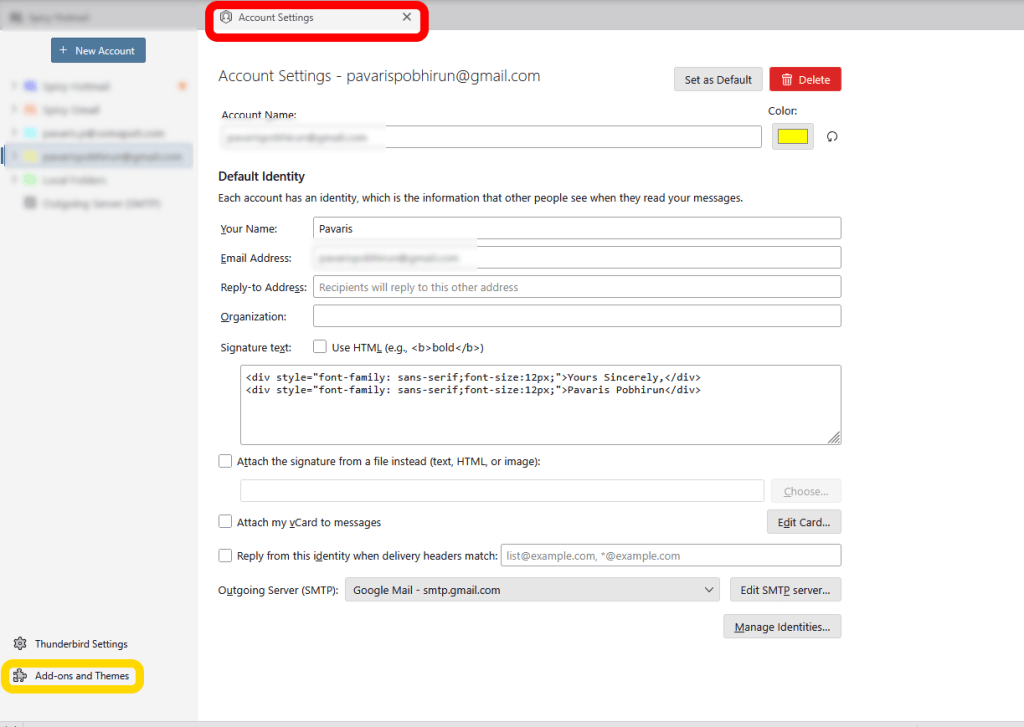
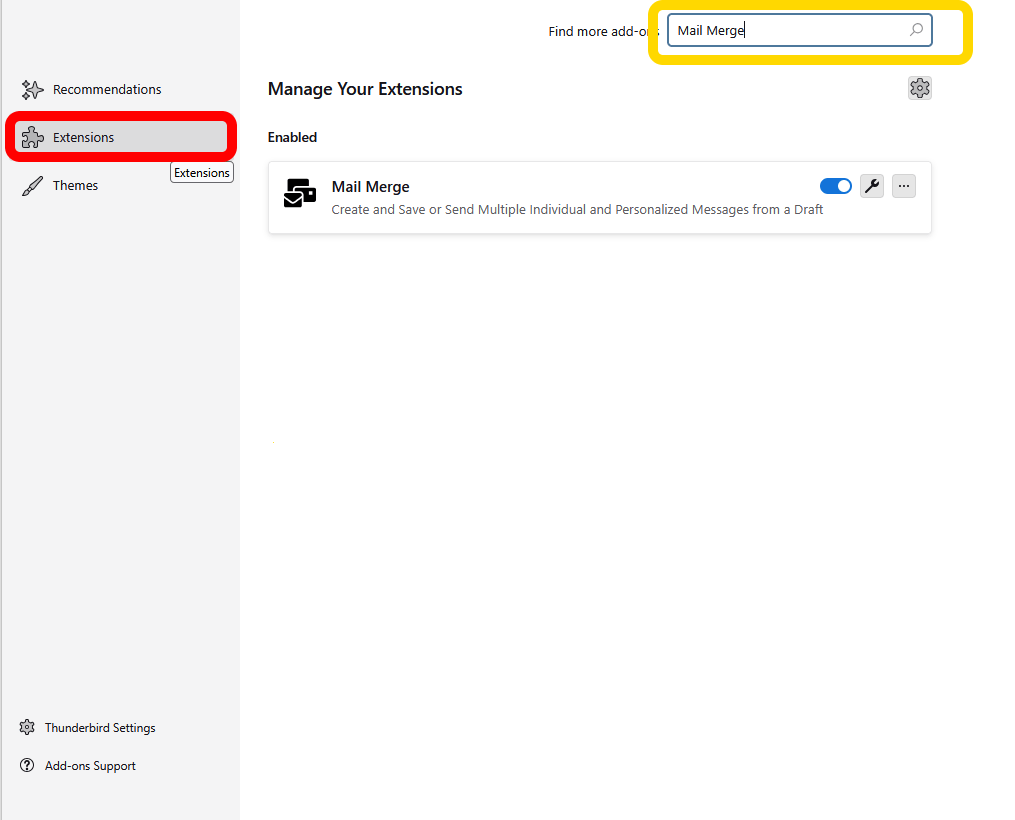
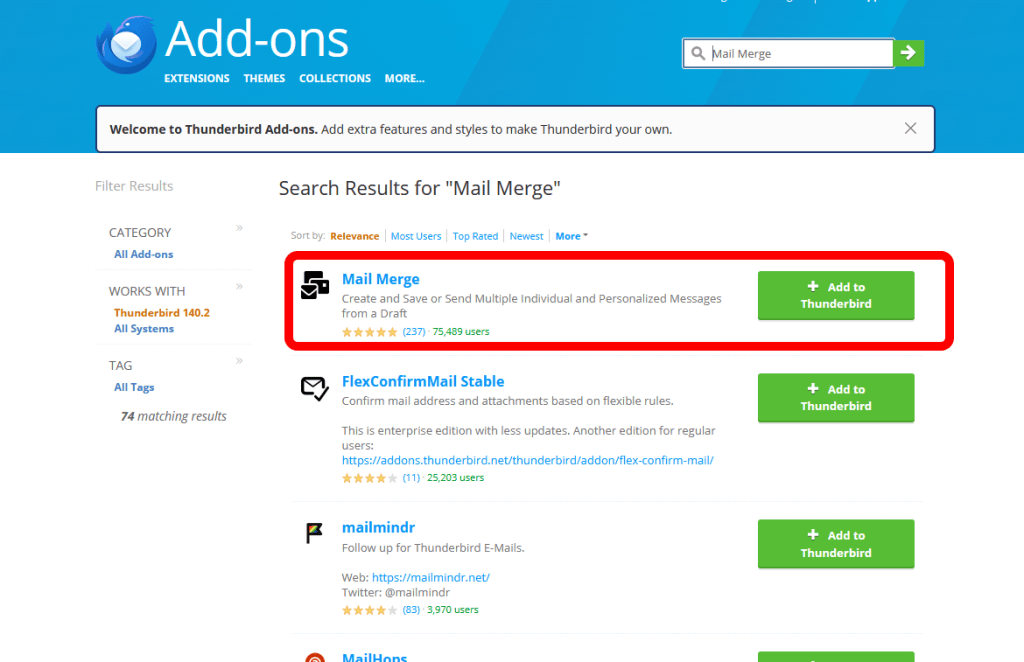
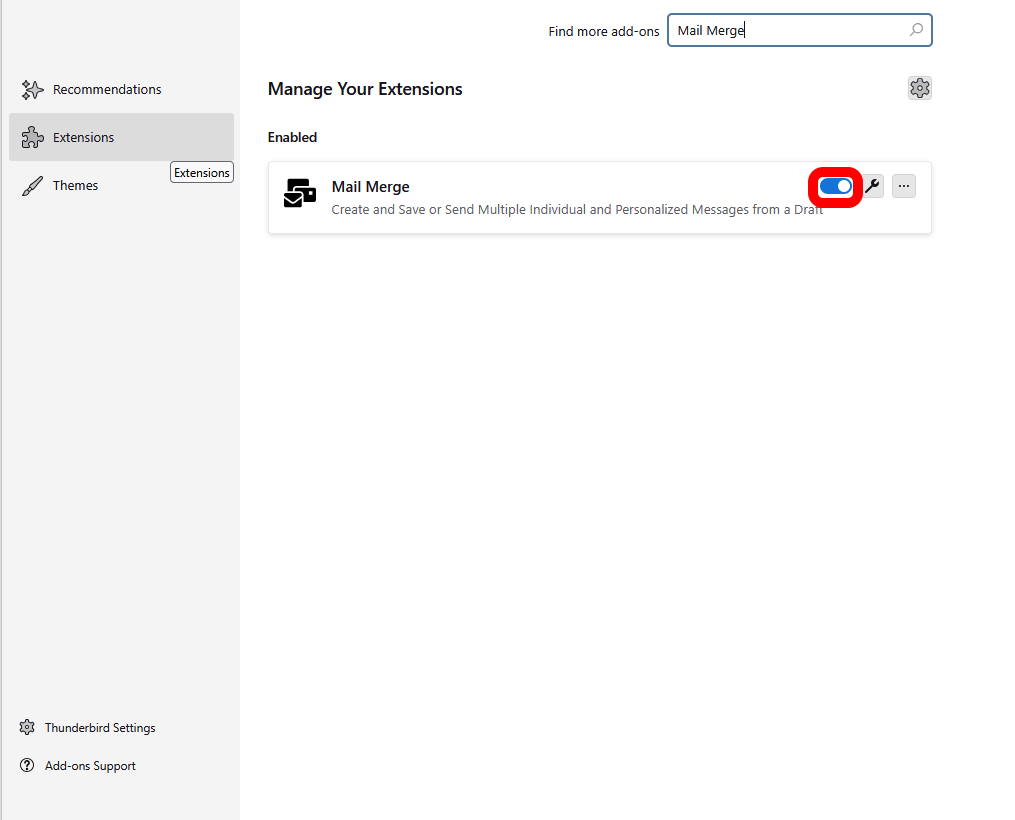
Once you had finished setup email in Thunderbird, you need to install “Mail merge” extension.
Setup the data for merged
Before we start drafting the email, we first need to set up the data. Open your spreadsheet software (like Microsoft Excel, Google Sheets, or Libre Office Calc) and follow these rules:
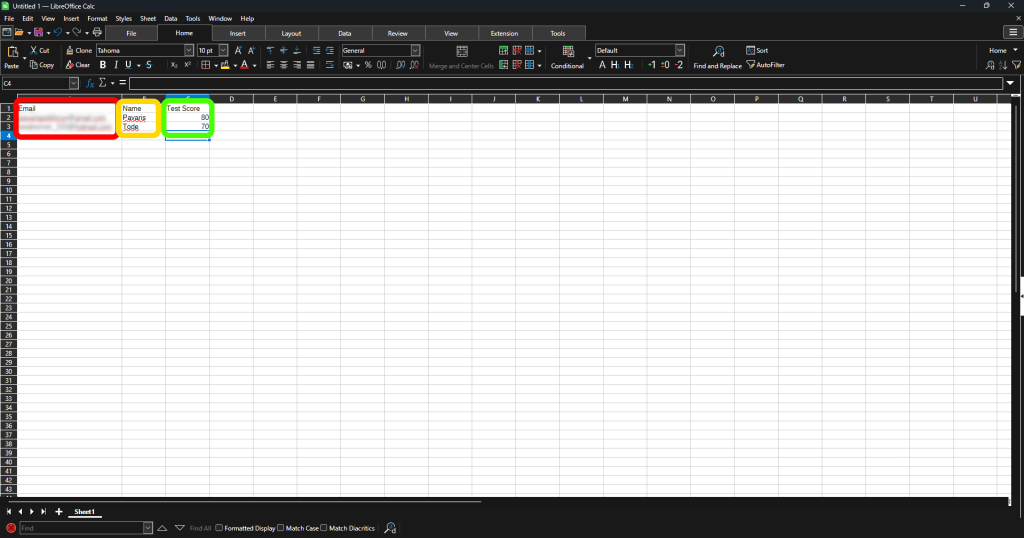
| Name | Test Score | |
| pavaris*****@gmail.com | Pavaris | 80 |
| ********@hotmail.com | Tode | 70 |
First Row (Headers): The first row must contain your Data Names (variables), such as Email, Name, and Test Score.
Subsequent Rows (Values): Starting from the second row, enter the corresponding data values for each recipient.
(Note: The email addresses are blurred for security reasons, but you get the point. I’ve set the first column as the recipient’s email, the second as the recipient’s name, and the third as the test score.) Crucial Rules for Your Data File:
When you have finished setting up the data, make sure to save the file as a *.csv file.
If your Excel file contains multiple tabs, the actual data you would like to send must be in the first tab.
Writing and Drafting Email
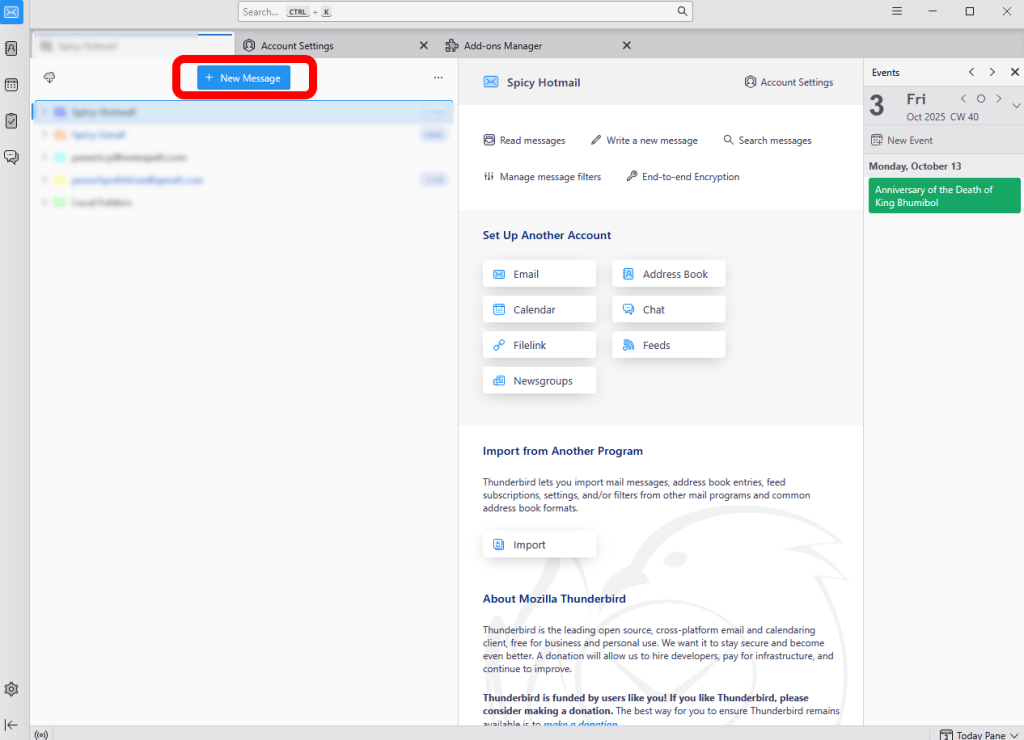
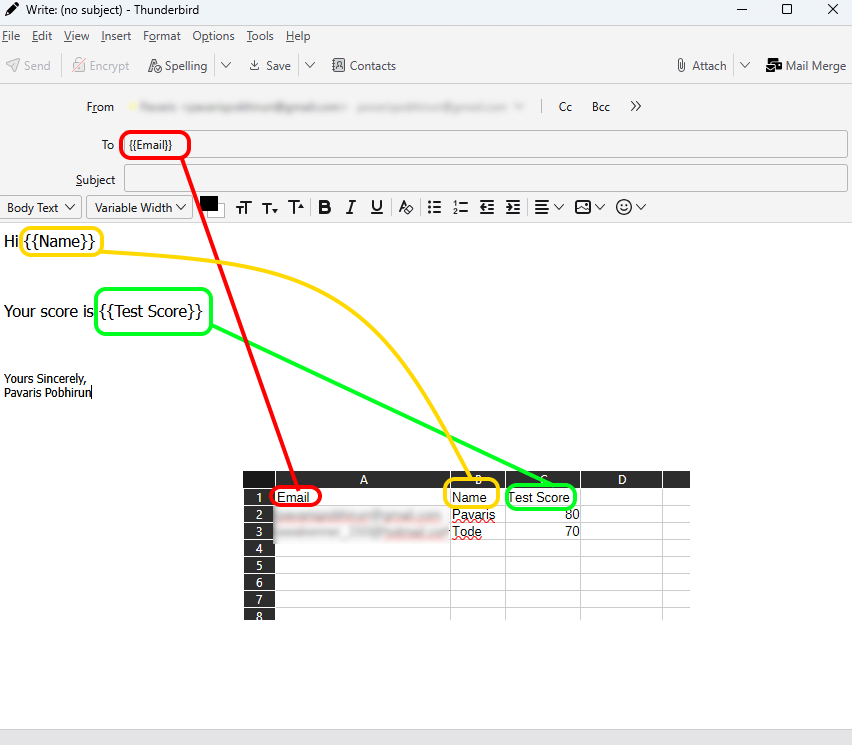
Write your email as normal. When you want to insert personalized data, put the Data Name from your CSV file inside double curly bracket: {{Data Name}}
In the body, use variables like {{Name}}and {{Test Score}} to insert personalized content.
In the To field, use {{Email}} to address the message correctly.
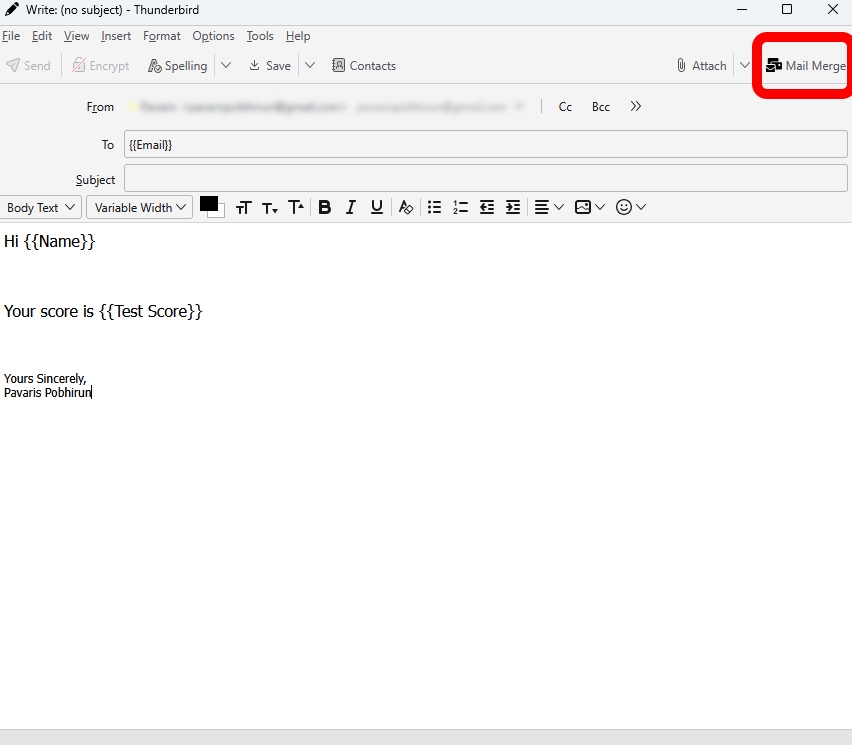
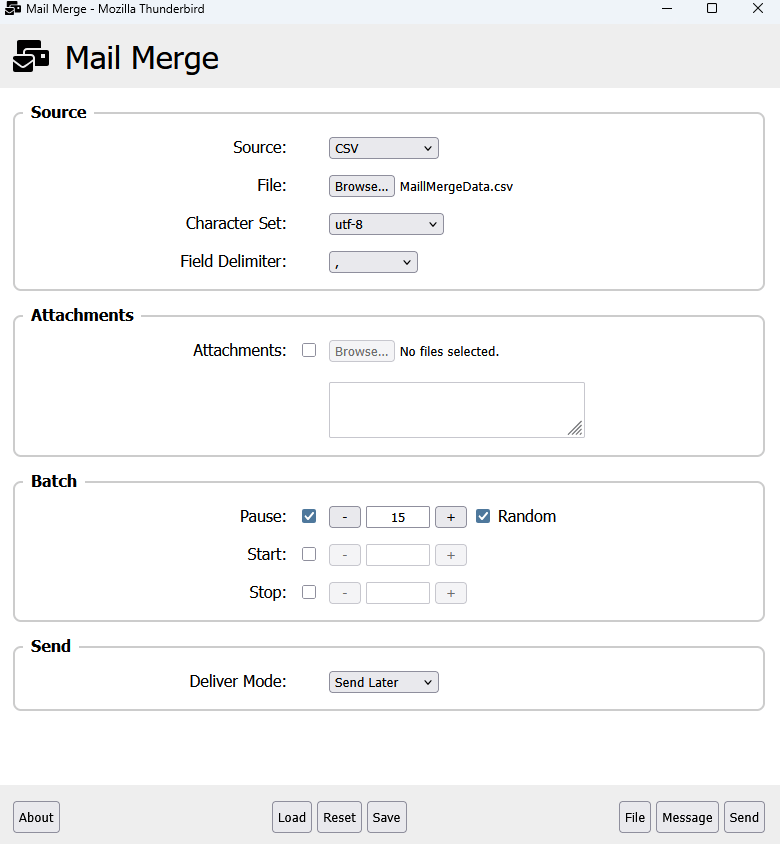
The Definitions are as follows.
| Field | Definition |
| Source | CSV |
| File | Browse to your .csv file |
| Character Set | leave at default (utf-8) |
| Field Delimiter | Must be “,” (comma) |
| Pause | Check, set to 15-20 seconds and Random. This random pause helps prevent your email provider from flagging the bulk send as spam. |
| Deliver Mode | I recommend to set it as Send Later. This allows you to review all generated emails before they are actually sent. |
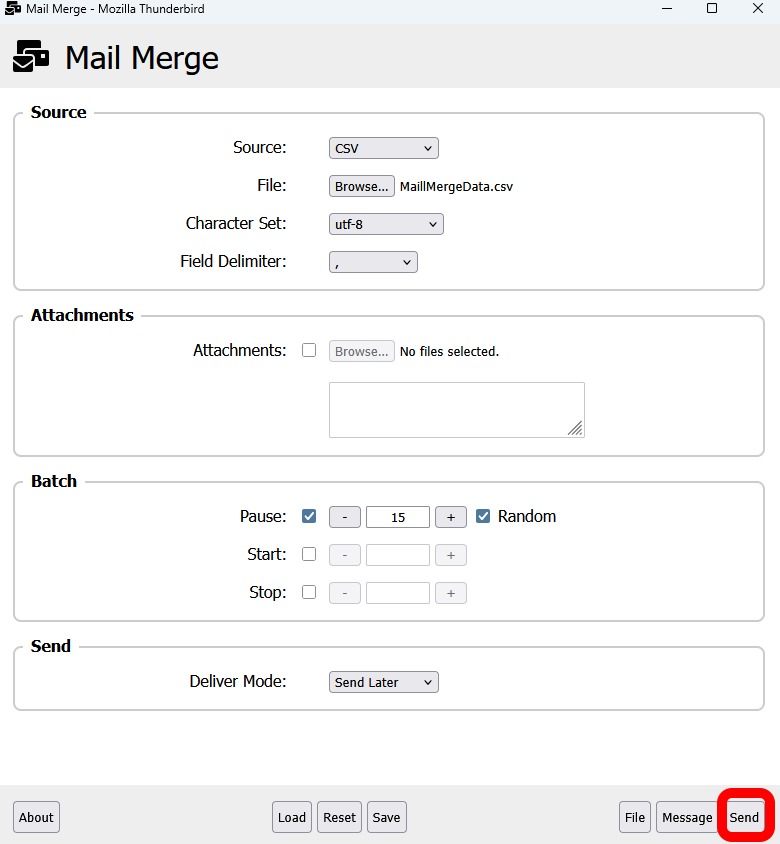
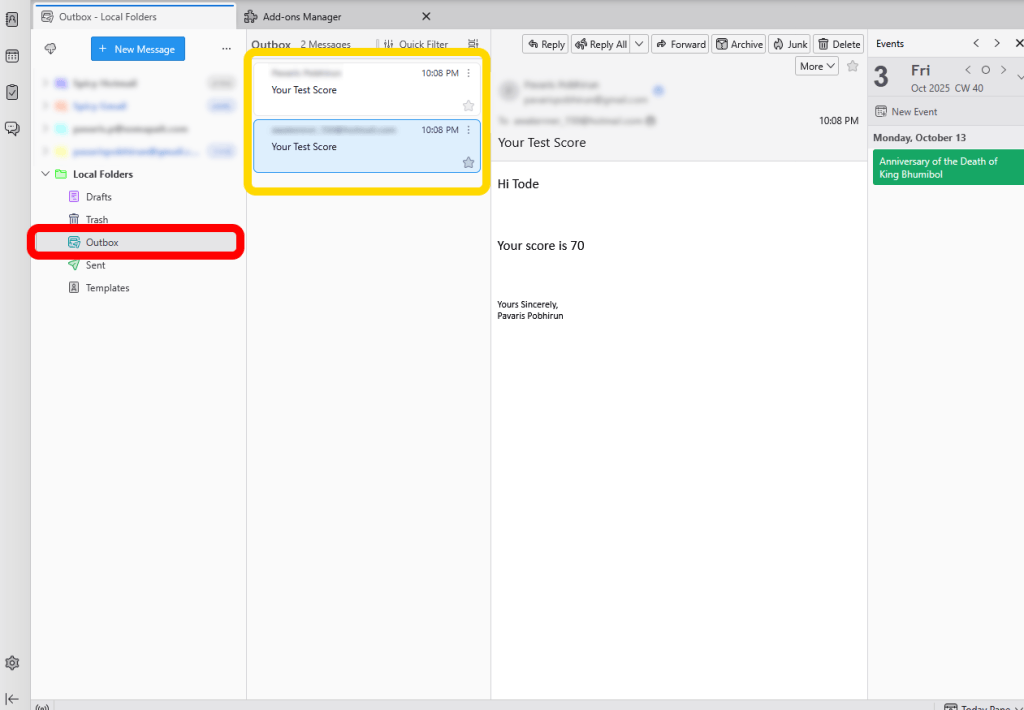
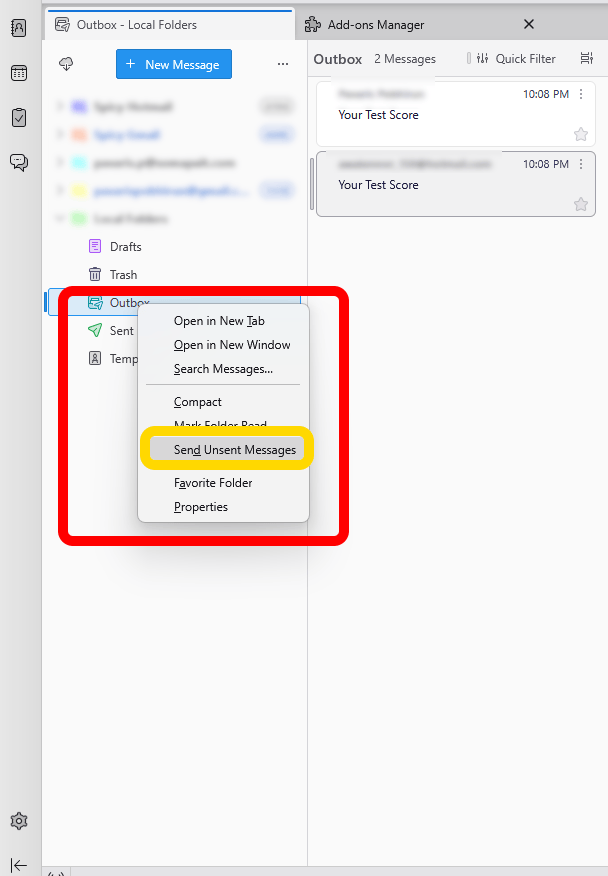
That’s it! Every email you drafted will be sent automatically. Easy does it! Using Mail Merge saves you a huge amount of time by letting you draft once and send anytime.
If you have any questions or get stuck at any step, feel free to ask me in the comments below!